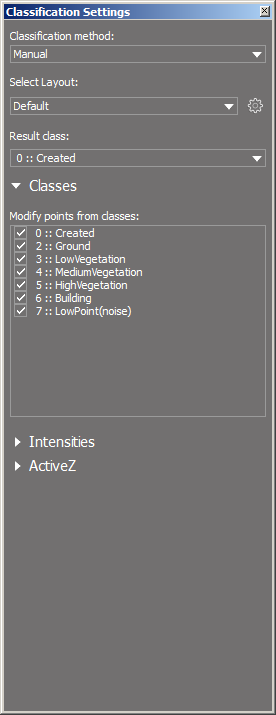
Window >> Editor Toolbar >> Classification Settings (Manual)

Manual classification allows you to change selected classes assigned to points (input classes) to another class (result class). The classification takes place within the area indicated by the user (see: Selection tools). It is also possible to classify points only in a certain intensity range and above and below the set height (ActiveZ option).
Stages of manual classification:
1. Select the previously saved classification scheme from the drop-down list of the Editor Toolbar or define a new one by clicking on the icon![]()
2. In the Classification Settings window, select Manual, and then in the Input Classes section, indicate the classes to be reclassified. From the Result Class list, select the target class.
3. If you want to classify only points in a given intensity range, in the Input intensities section, click the Add button and enter the limits of the intensity range. You can also automatically read the range for a given area of the point cloud by selecting it with a rectangle (Rect selection button) or a polyline (Shape selection button).
4. If the classification will be subject to points above or below the set height, use the Active Z option.
Note: The input classes for the ActiveZ function are selected independently of the settings described in step 2.
5. If you want to save the classification settings, right click on the icon ![]() , than select Save or Save as... option and enter layout name. Your scheme will be available from the drop-down list.
, than select Save or Save as... option and enter layout name. Your scheme will be available from the drop-down list.
6. Using the selection tools, select the points to be reclassified.
Explanations of individual functions / fields:
Manual/Automatic |
Selection of classification mode: Manual / Automatic |
Select Layout |
Loading, saving, importing and exporting classification settings |
Input classes |
Definition of input classes |
Select points with intensity |
Limiting classification scope to points in a given intensity range |
ActiveZ |
Classification of points above / below the specified height |
Result class |
Setting the result class |
ActiveZ function
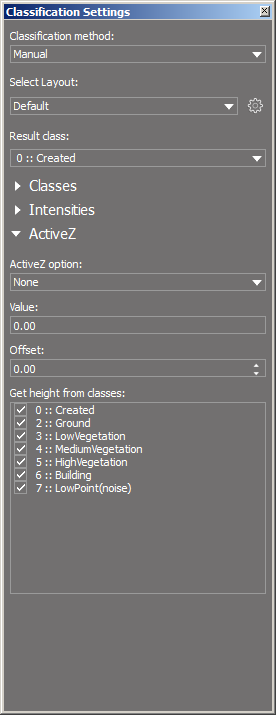
To use the ActiveZ function
1. By default, the ActiveZ option is disabled. To enable this function, select the Above or Below from the ActiveZ option list, depending on whether the points below or above the set value will be classified.
2. Select the area which will determine the Active Z using the selection tools (eg a part of the ground).
3. In the next step indicate the area to be reclassified according to the ActiveZ value. The Offset parameter means the buffer relative to the active Z in which points will not be reclassified, eg the value of +/-2 m means that the points above / below the ActiveZ value +/- 2m (Offset) will be classified.
4. From the From classes list, select the classes to which the ActiveZ parameter will refer.
Example 1:
Active Z option = Above
Active Z = 290 m
Offset = 2 m
The Z value of points to be classified >= 292 m
Example 2:
Active Z option = Below
Active Z = 290 m
Offset = 2 m
The Z value of points to be classified <= 288 m
Explanations of individual parameters of the ActiveZ function:
ActiveZ option |
Specifies whether the classification should be performed above or below the set height |
Value |
The value of active altitude determined on the basis of the selected area |
Offset |
Offset in meters above or below the Active Z where points are not classified |
From classes |
The selection of classes to which the Active Z settings will apply |
Note: The settings of all parameters (input classes, classification in a given intensity range and ActiveZ) overlap each other. The final result of the classification is a component of all parameters.
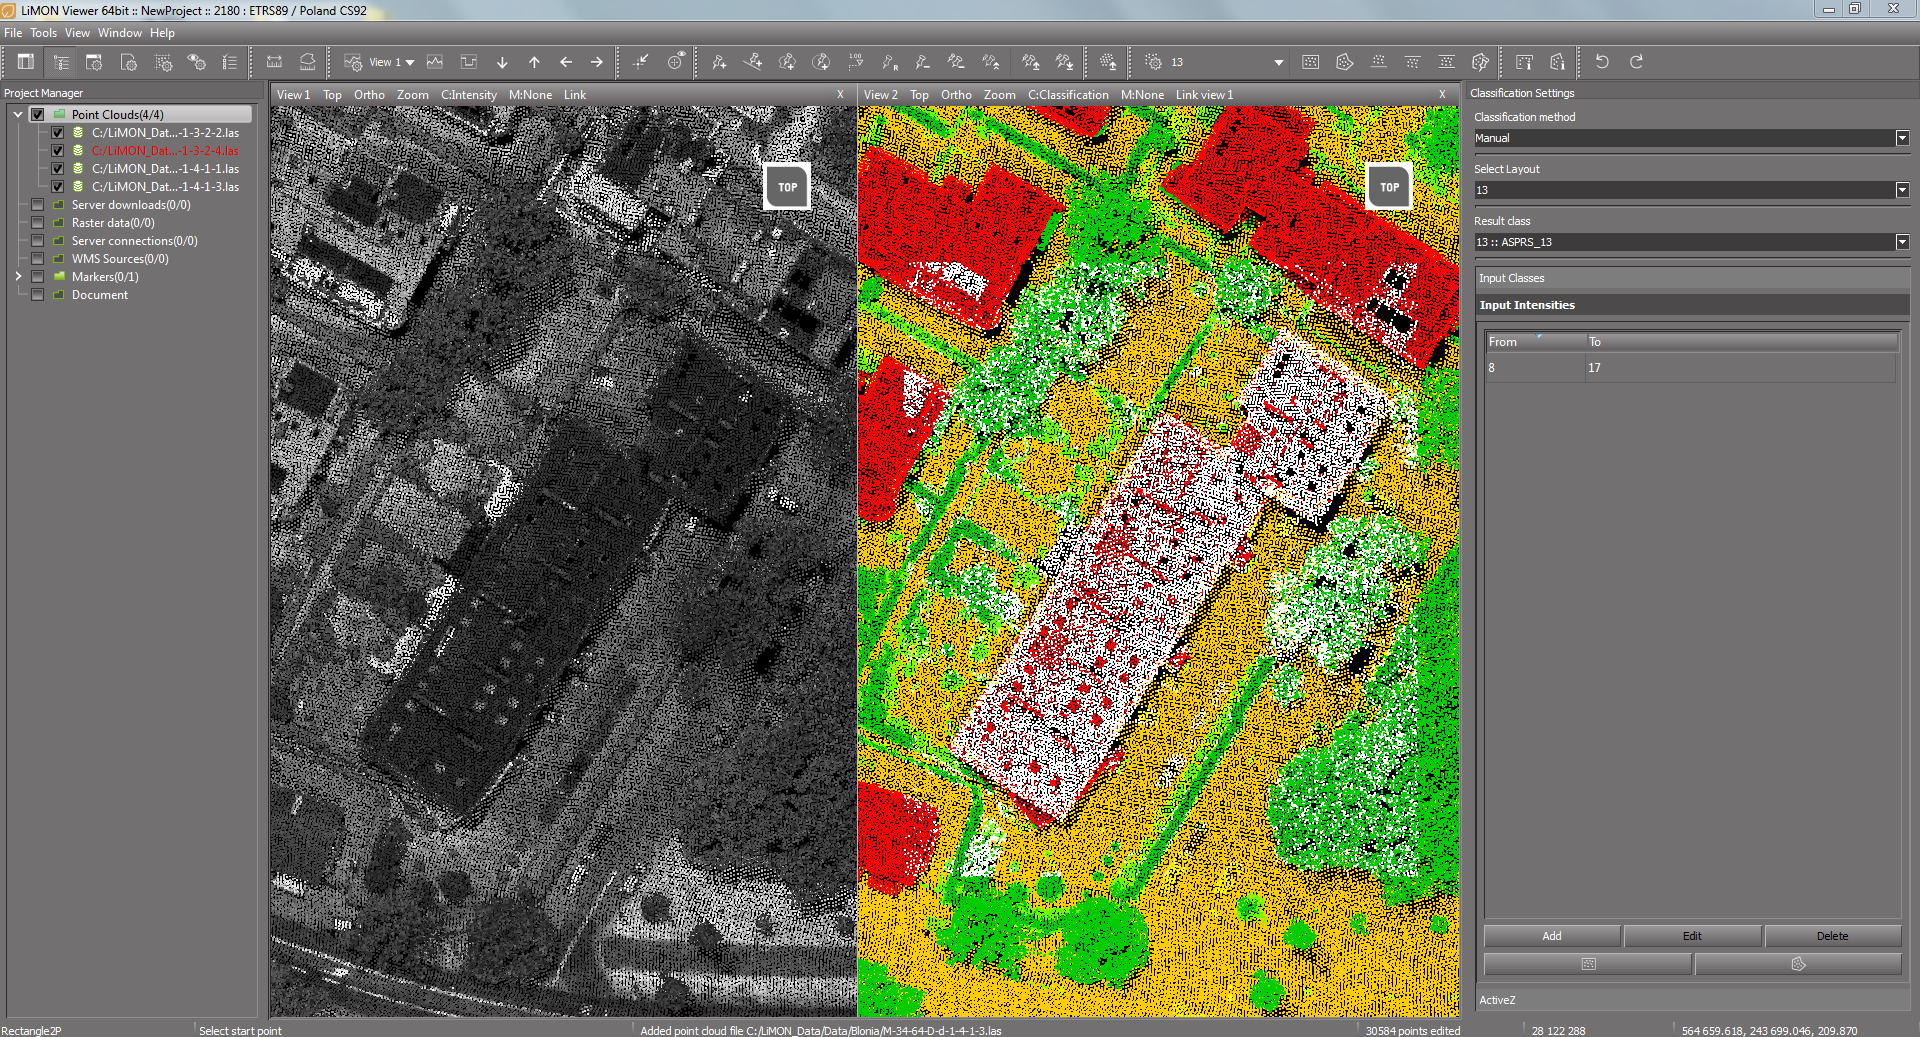
Classification of points in a given intensity range
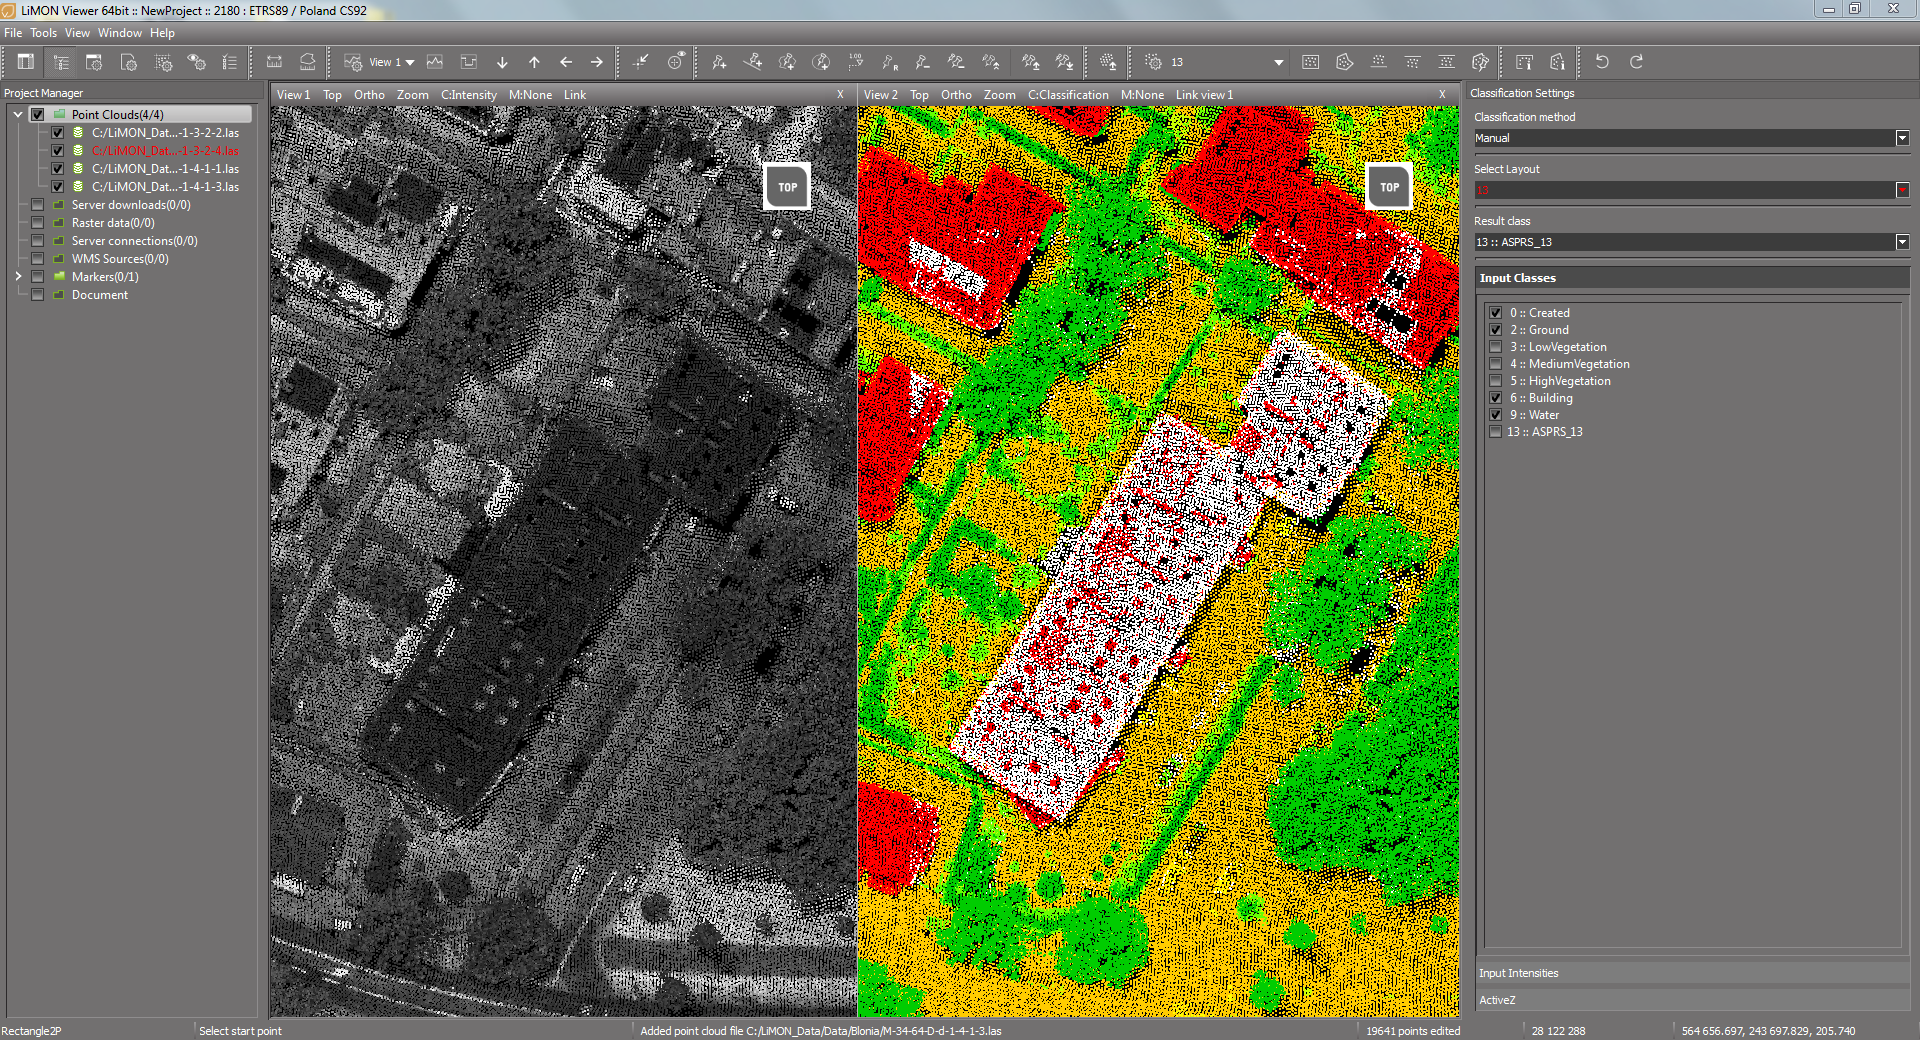
Classification of points in the given intensity range, excluding vegetation classes

Classification of points in a given intensity range excluding vegetation classes and above ActiveZ value
Hotkey: Edit.SettingsDialog