Window >> Clipping box
Using the clipping box, it is possible to limit the view of the cloud to a certain part of the area. It is particularly useful when working with a point cloud representing the object both from the inside and outside. Using clipping box you can, for example, turning off the points representing the ceiling, so that you can see the interior of the object.
To crop the view of the point cloud using the clipping box:
1. Open Clipping box window
2. From the View id list, select the view in which the clipping box will be active
3. Select Enable clipping box option
4. Press Turn on edit clipping box function button![]()
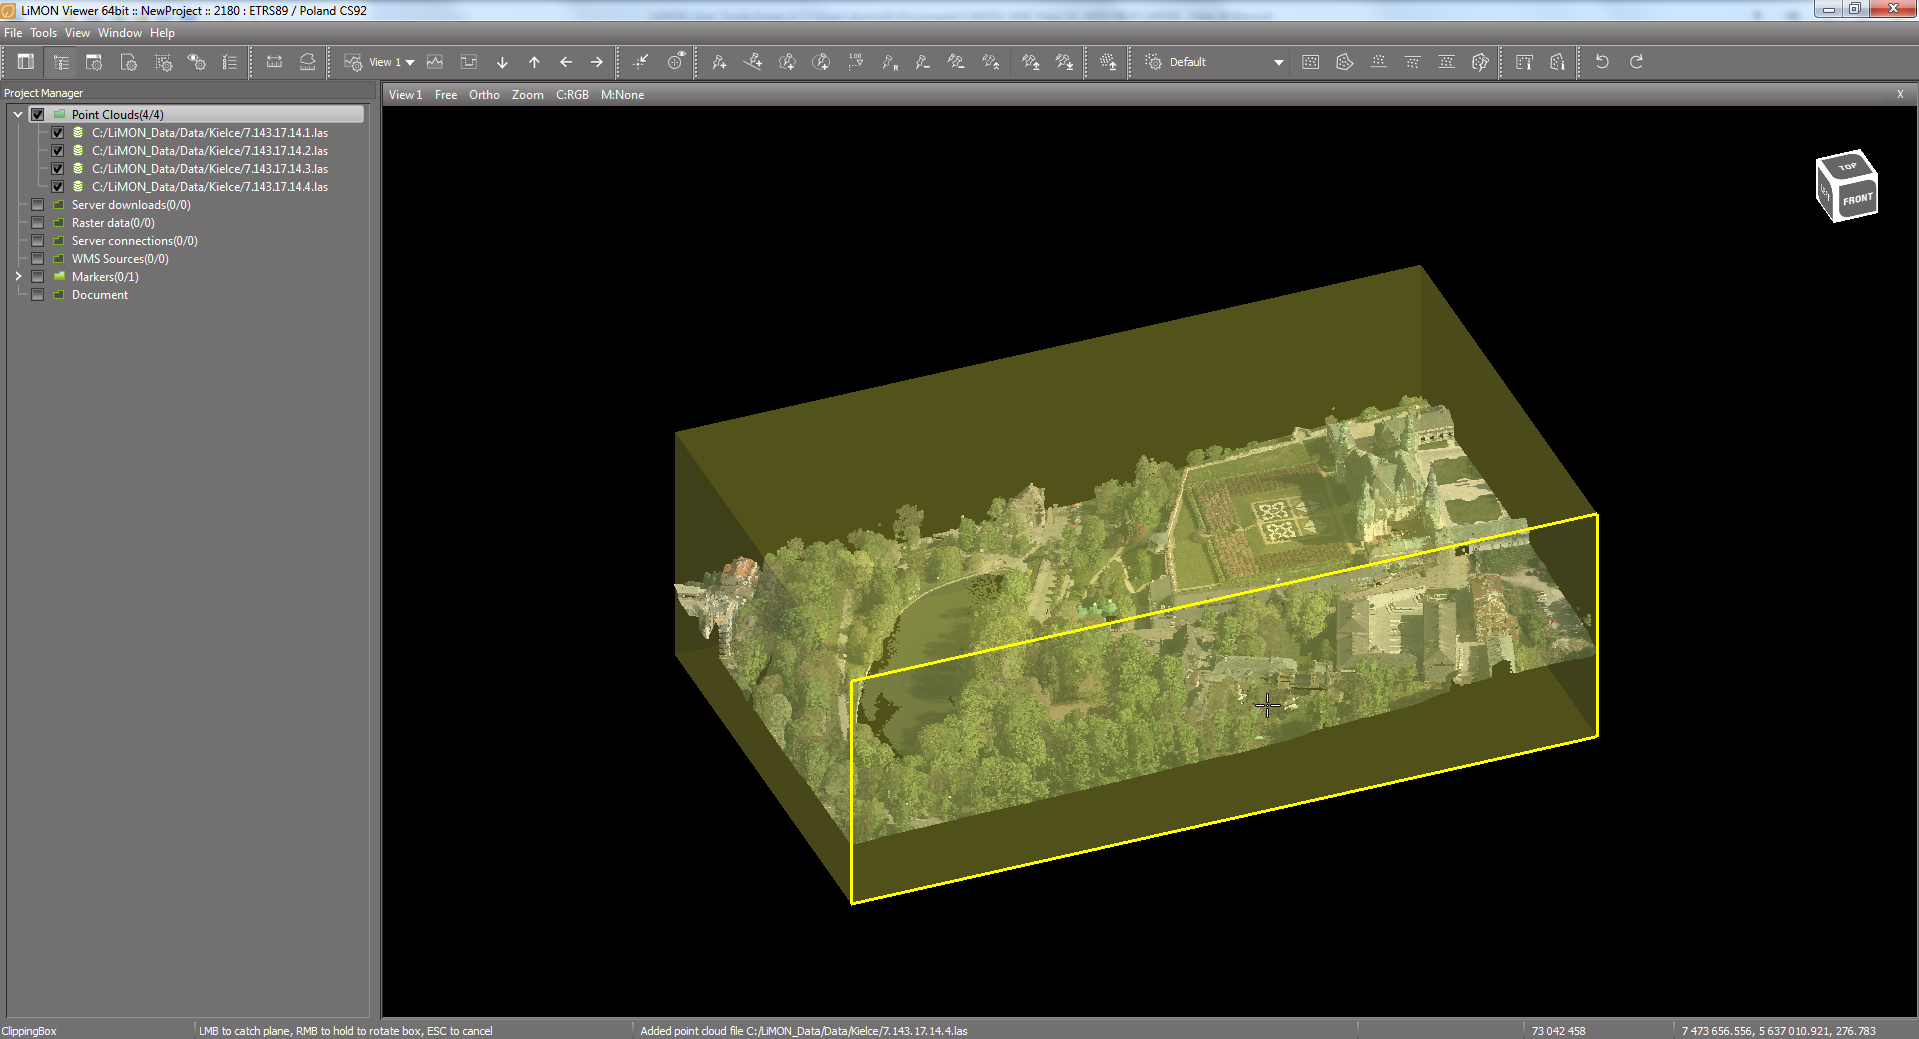
5. The point cloud display can be limited to any area by moving the walls of the cube. Click the mouse on the wall of the cube you want to move (walls are highlighted when you hover the mouse), and then move the mouse to move it to the right place and confirm by clicking the left mouse button. By holding the right mouse button you can rotate the cube.
6. Click right mouse button to finish clipping box edition.
View id |
determines in which view the clipping box will be active |
Enable clipping box |
selecting this option enables clipping the point cloud with the clipping box |
Left / Right / Front / Back / Top / Bottom / Rotate |
parameters defining the size and orientation of the clipping box. The values determine the offset from the original clipping box. Positive values increase the dimension by a given value, while negative decrease it. |
Min. size |
the parameter specifies the minimum side length of the clipping box |

Clipping box buttons:
![]() Turn on edit clipping box function
Turn on edit clipping box function
![]() Reset clipping box plane to bound box range
Reset clipping box plane to bound box range
![]() Push clipping box through supreme range
Push clipping box through supreme range

point cloud before clipping
point cloud with clipping box

clipped point cloud
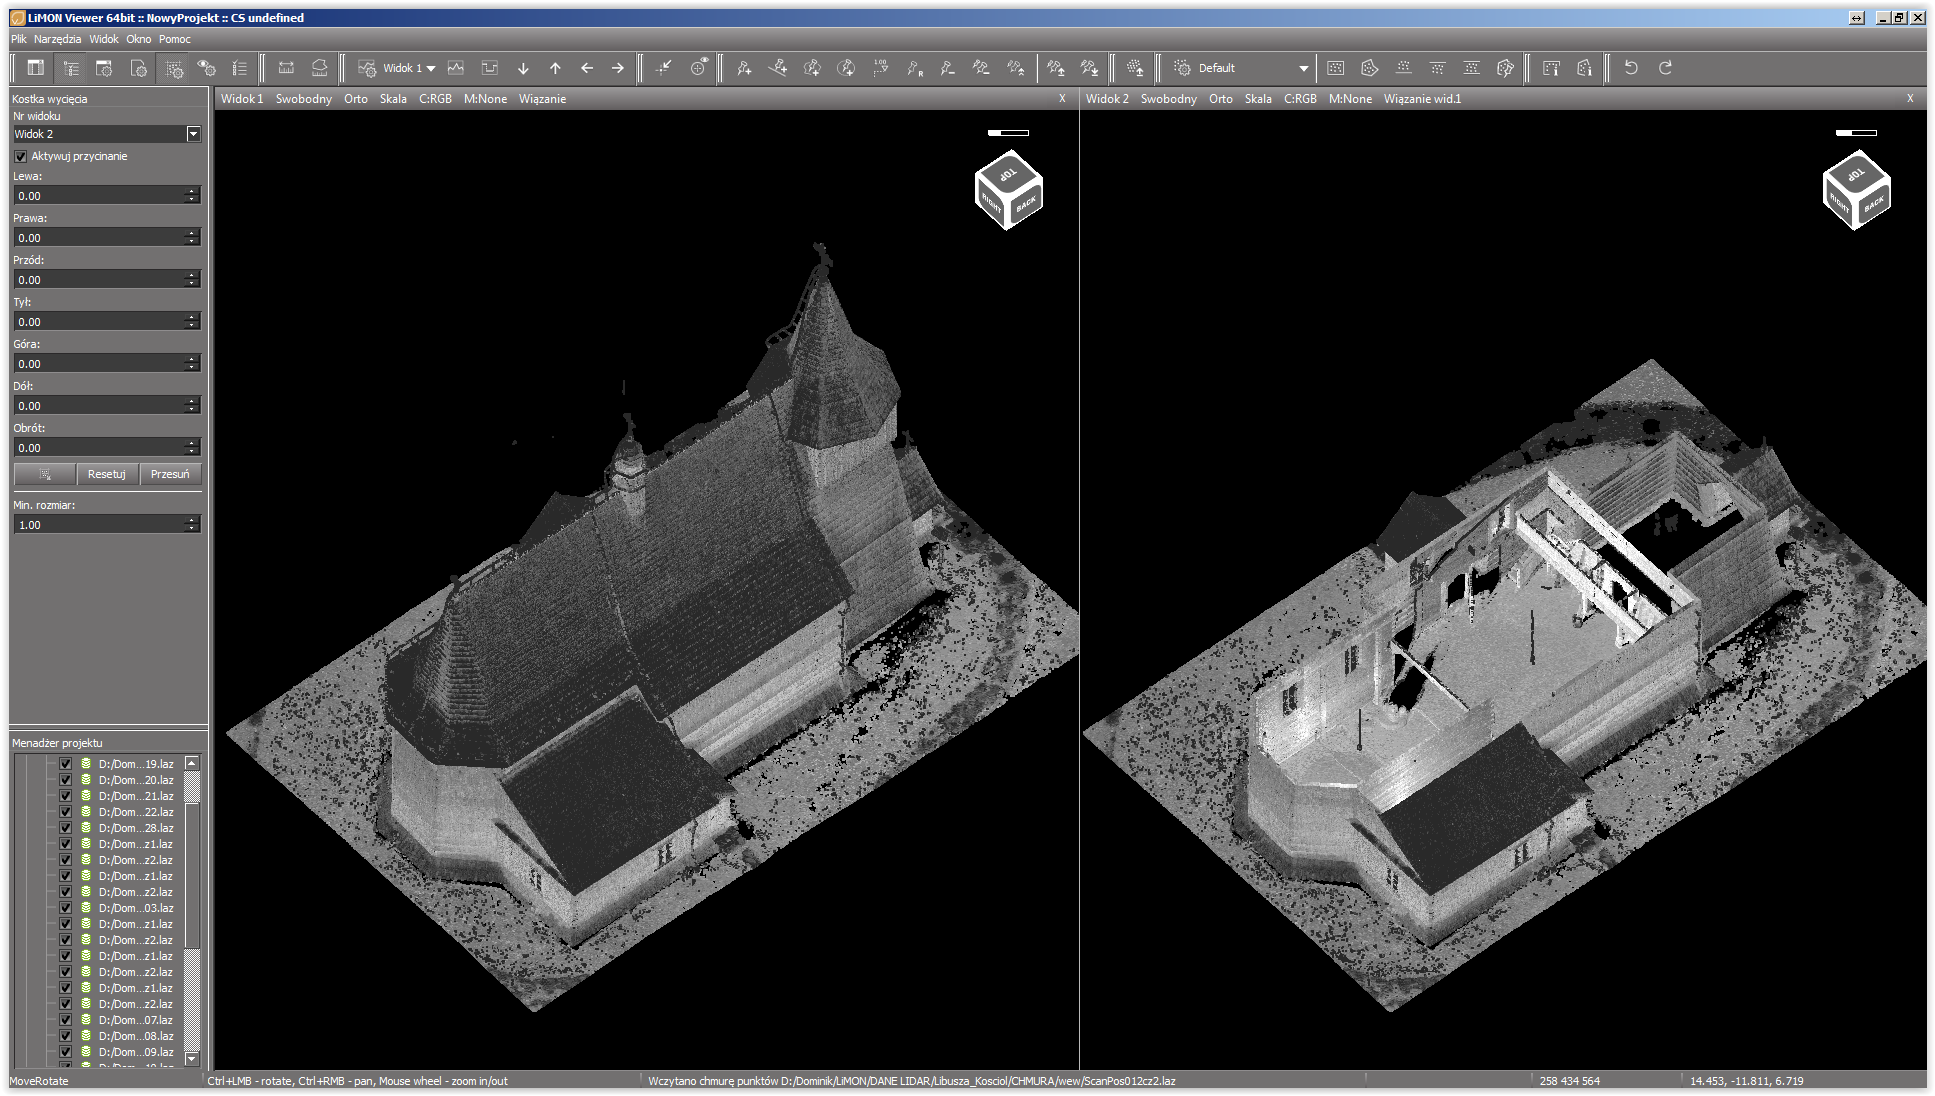
cutting the ceiling of the object using the clipping box
Hotkey: View.ClippingBox